How to Create Your Sessionize Profile
Last week, I wrote about how to get started with community speaking, and today, we’re going to build on that, with a guide to setting up your Sessionize profile for new speakers.
This is quite a long article, so use the following buttons if you want to navigate quickly to a different part of this page:
What is Sessionize?
Sessionize is a platform that is used by event organisers around the world to run and manage calls for speakers / content. For organisers, it provide a comprehensive set of tools that make it easy to review content, to pull together event schedules, to contact speakers and generally manage the vast majority of the admin related to sourcing content for an event.
Now, that’s not to say that it is used by all events – many events do use their own processes or platforms, and there are other systems out there that can be used to manage calls for content. However, in my experience, Sessionize is the most common platform that is used, and it is a great way to get started with building out your online presence as a speaker.
For speakers, it allows you to create your own public profile that includes your biography, a photograph, your location, details of your areas of expertise and speaking topics, and any relevant industry awards. Additionally, you can create sessions which can then be re-used REALLY EASILY when you submit to new events! For speakers who submit to a lot of events, this can save a crazy amount of time, and makes it much easier for us to submit to an event.
Creating your Account
To create a new Sessionize profile, first of all head over to the Sessionize website, and hit the “try for free” button. It is really easy to set up your account using an existing authentication type such as Facebook, your Microsoft account, Twitter and so on.
I would STRONGLY recommend that you set this up using your personal account details or email address, rather than using a work identity. Once you start speaking at events, hopefully this is something that you will continue to do even after changing your employer and moving to another company.
If you set this up to use your work email address, it can be a real pain to have to switch it at a later date. I know people that have lost access to their early speaking history by moving jobs, so definitely set this up using your personal identity.
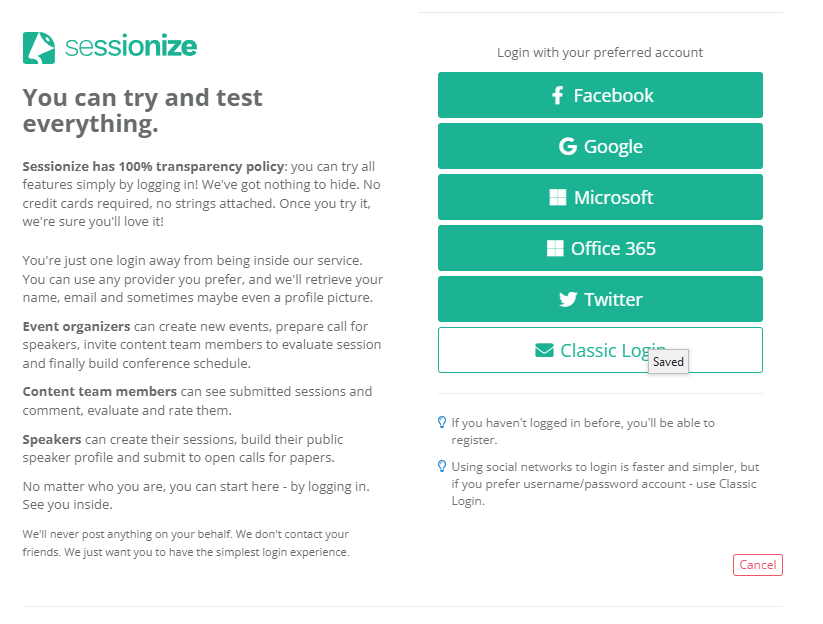
Depending on which authentication provider you select, Sessionize will attempt to pull in some of your information to start populating your profile. However, for the purposes of this demo, I’m going to set up a new profile using classic login (ie email) so that I can create a dummy account that isn’t connected to any of my existing stuff.
For my own Sessionize account, I use my Microsoft account, which works really well. If you select Microsoft Account, it will prompt you to log in, and then create new Sessionize profile.
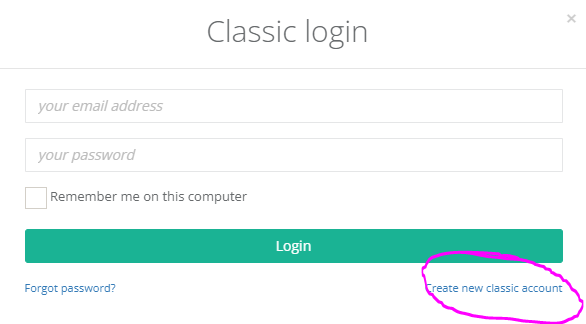
Once you hit “create new classic account” it will prompt you to enter your email address, name and choose a password. I’d generally recommend using a Microsoft account though if you have one.
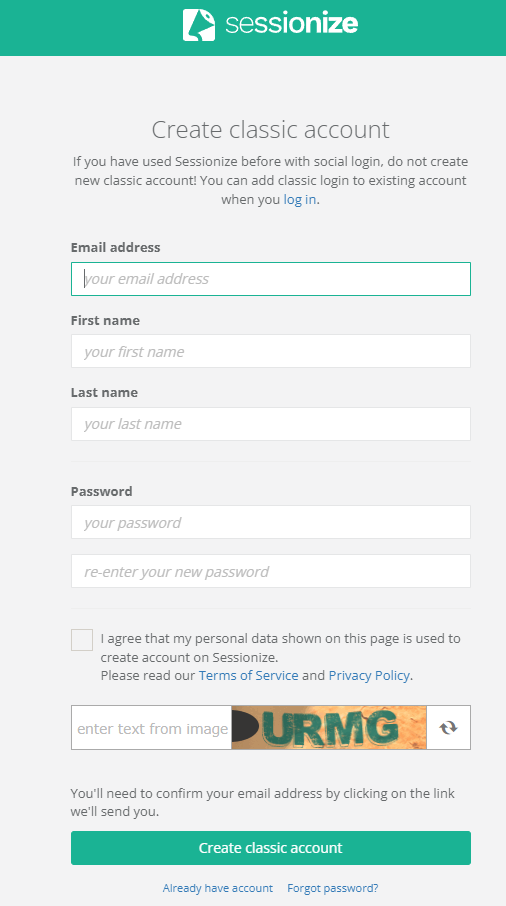
If you choose classic method, then once you’ve filled out all the info in the form shown, complete the captcha and hit the create button. You’ll be sent a confirmation link, and once you hit that, you’re in!
Setting up Your Profile
When you activate your account and login for the first time, you will see the options on the screen below, asking if you want to get started as an organiser or as a speaker.
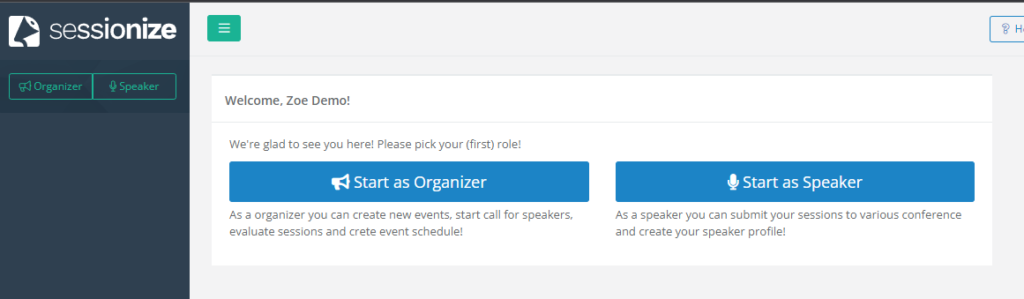
Hit the “start as speaker” button.This will take you to an overview of your speaker area within the Sessionize platform.
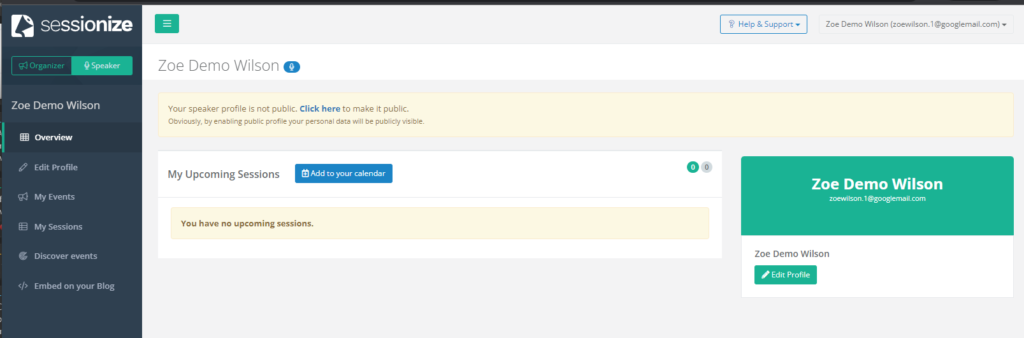
The screenshot below shows you a number of menu options on the left, which we’ll start to go through today, and provides a summary on your dashboard. Currently, as a new speaker, this will be blank. However, once you start adding sessions and speaking at events, this will start to show you a useful summary of upcoming sessions, as well as a snapshot of your public profile.
One last thing to note – currently, your speaker profile is not public. Once you have finished editing your profile and getting yourself set up, I’d recommend switching your profile to public. This makes it easier for people to find you, and look at your experience, the things you talk about and so on.
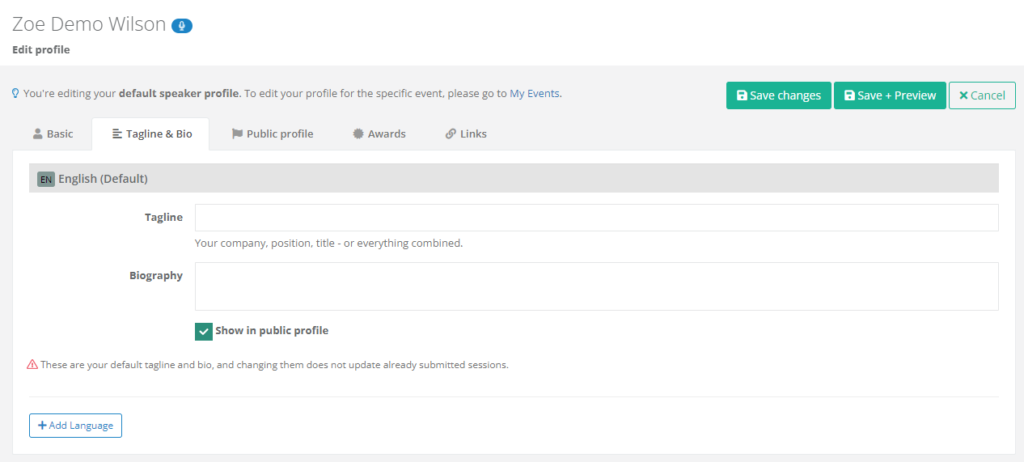
On the left-hand menu, click on “Edit Profile”.
This will take you to a new screen, where you can start to populate your personal information.
Along the top, you can see a number of different tabs where you can edit the following different items:
Basic: Name, upload a photograph and set a nickname.
Tagline & Bio: Write a tagline for your profile, and upload your professional biography. You can also add another langauge on this screen too.
Public Profile: this is where you can turn on your public profile, and create a custom profile URL. Additionally, you can add topics, your area of expertise, your location and any additional notes. You can also add a cover photo / header image to your public profile under this section.
Awards: Here you can add things like Microsoft MVP award – it will only let you add awards to your profile once you’ve made it public though, and awards will have to be verified to make sure they are legitimate.
Links: Add links here to your social media profiles – Twitter, LinkedIn, Facebook, Insta etc. You can add a link to your own blog if you have one, or a YouTube channel and so on.
Update all of the relevant information on these tabs, and save the changes. Once you’ve populated everything, make sure you set your profile to public.
A key benefit of creating a public profile – apart from the fact that it makes you visible – is that it also allows you to use a fantastic feature within Sessionize, and that is another one of the options on the left-hand menu, “Discover events”.
This will use the things that you’ve set in your public profile – such as location, topics and areas of expertise – and then show you calls for speakers for events that would be a good match, which are currently open and requesting content.
If I look at the Discover Events page within my main Sessionize account, I can see the following list of open events (plus a whole load more that I have to scroll down to see):
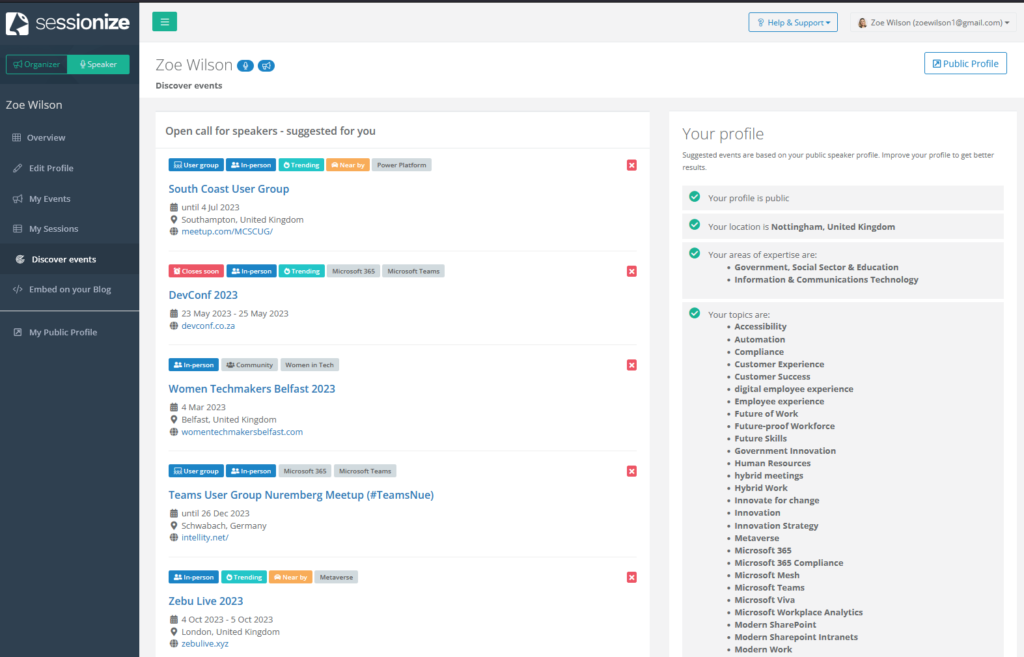
This can make it really easy to find events that are a good fit, which are currently looking for speakers! I’ve discovered loads of new events this way that might not have been on my radar otherwise.
Take a look over here at the demo Sessionize profile I set up for this article.
Add Your First Session
You don’t need to add sessions before you start submitting, as you can write it in the form when you submit for your first event. However, if you really want to prepare in advance for that first open call for content, then you can create a session without needing to submit it to a specific event.
To do this, click on “My Sessions” on the left-hand menu, and then click the Add Session button shown in the screenshot below.
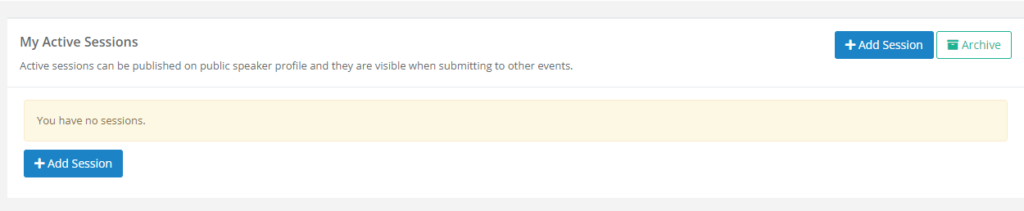
When you click “add session” it shows you a very simple form, where you can populate the session title, the description and any small print. The small print could include additional information that you may want an organiser to know about your session, such as technical requirements for an in-person presentation.
I’m not going to go into detail on how to write your first session, as I’ll cover that in my next blog posts for new speakers. In the next article, I’ll be giving you the tips and tricks that I use to write my conference sessions, as well as tips and guidance from event organisers and community leaders about what they look for in session abstracts.
At the top of the form to add a new session, you can see a check-box to show in your public speaker profile. If you check this box, then the session will appear on your public profile. My public profile shows many of the sessions that I’ve submitted via Sessionize, as well as events that I’ve spoken at previously, or which are upcoming in my speaking calendar.

Examples of Existing Profiles
I’ve shared above the steps you need to follow from a practical perspective to get your Sessionize profile set up. However, sometimes it really helps to see examples of how other people use it, to get some inspiration and start to see what works for other people who have been doing this for a while.
Several of my tech community friends, MVPs and public speakers, have kindly agreed for me to share their public profiles with you. Take a look at some of the accounts linked below, so that you can start to see how other people are filling in their profile information.
And a HUGE THANK YOU to everyone who has allowed me to publish their public Sessionize profiles here – you’re all legends!
All of the speakers shown below are experienced, speaking at many different events – both virtual and in-person. Many of them are Microsoft Most Valued Professionals and / or Microsoft Certified Trainers. They cover a wide range of topics, of technologies and different areas of expertise.
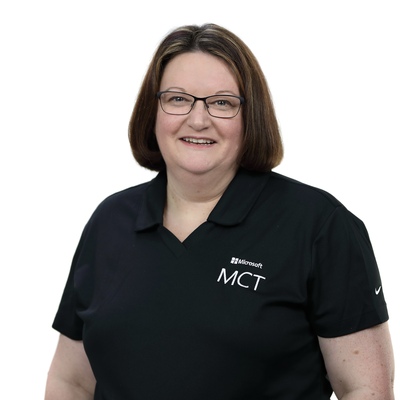
Sara Fennah, MVP & MCT
Chime Okure, MVP & MCT
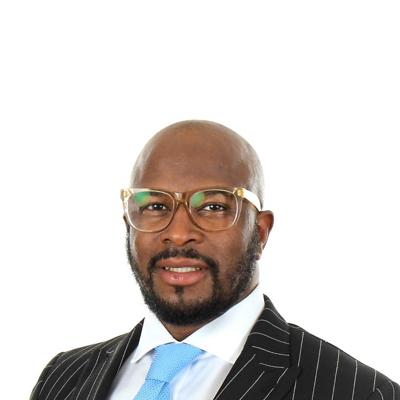
Jon Jarvis, MCT
Yannick Reekmans, MVP


Ana Ines Urrutia, MVP
Kaila Bloomfield, MVP


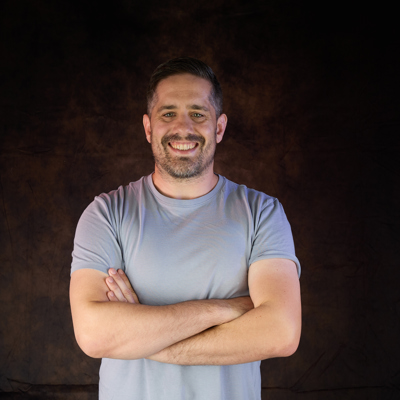
Chris Huntingford, MVP
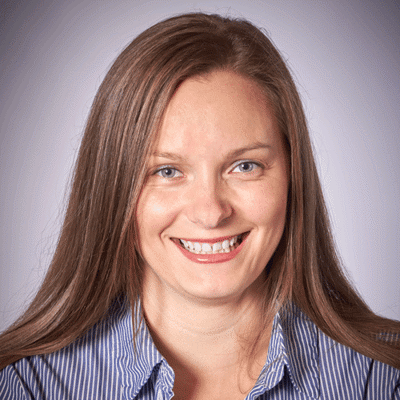
Vivian Voss, MVP

Sarah Lean, ex-MVP & Microsoft
Andrew Bibby, MVP & MCT
Kevin McDonnell, MVP
Check back soon for the next in this new speaker series, where we’ll start to look at tips for how to write a session abstract.